

Before You Start
- This page is a faster, simpler alternative to Builder for two specific situations: uploading unrelated historic or offline video for model training or testing (in Folders), which Builder can’t do at all, or quickly spinning up a camera feed for testing without placing it in physical space.
Step 1: Choose a View
Three tabs sit across the top of the page:- Cameras (default) - only connected, live cameras, your primary operational data source
- Folders - only uploaded, offline video
- All - both, blended together
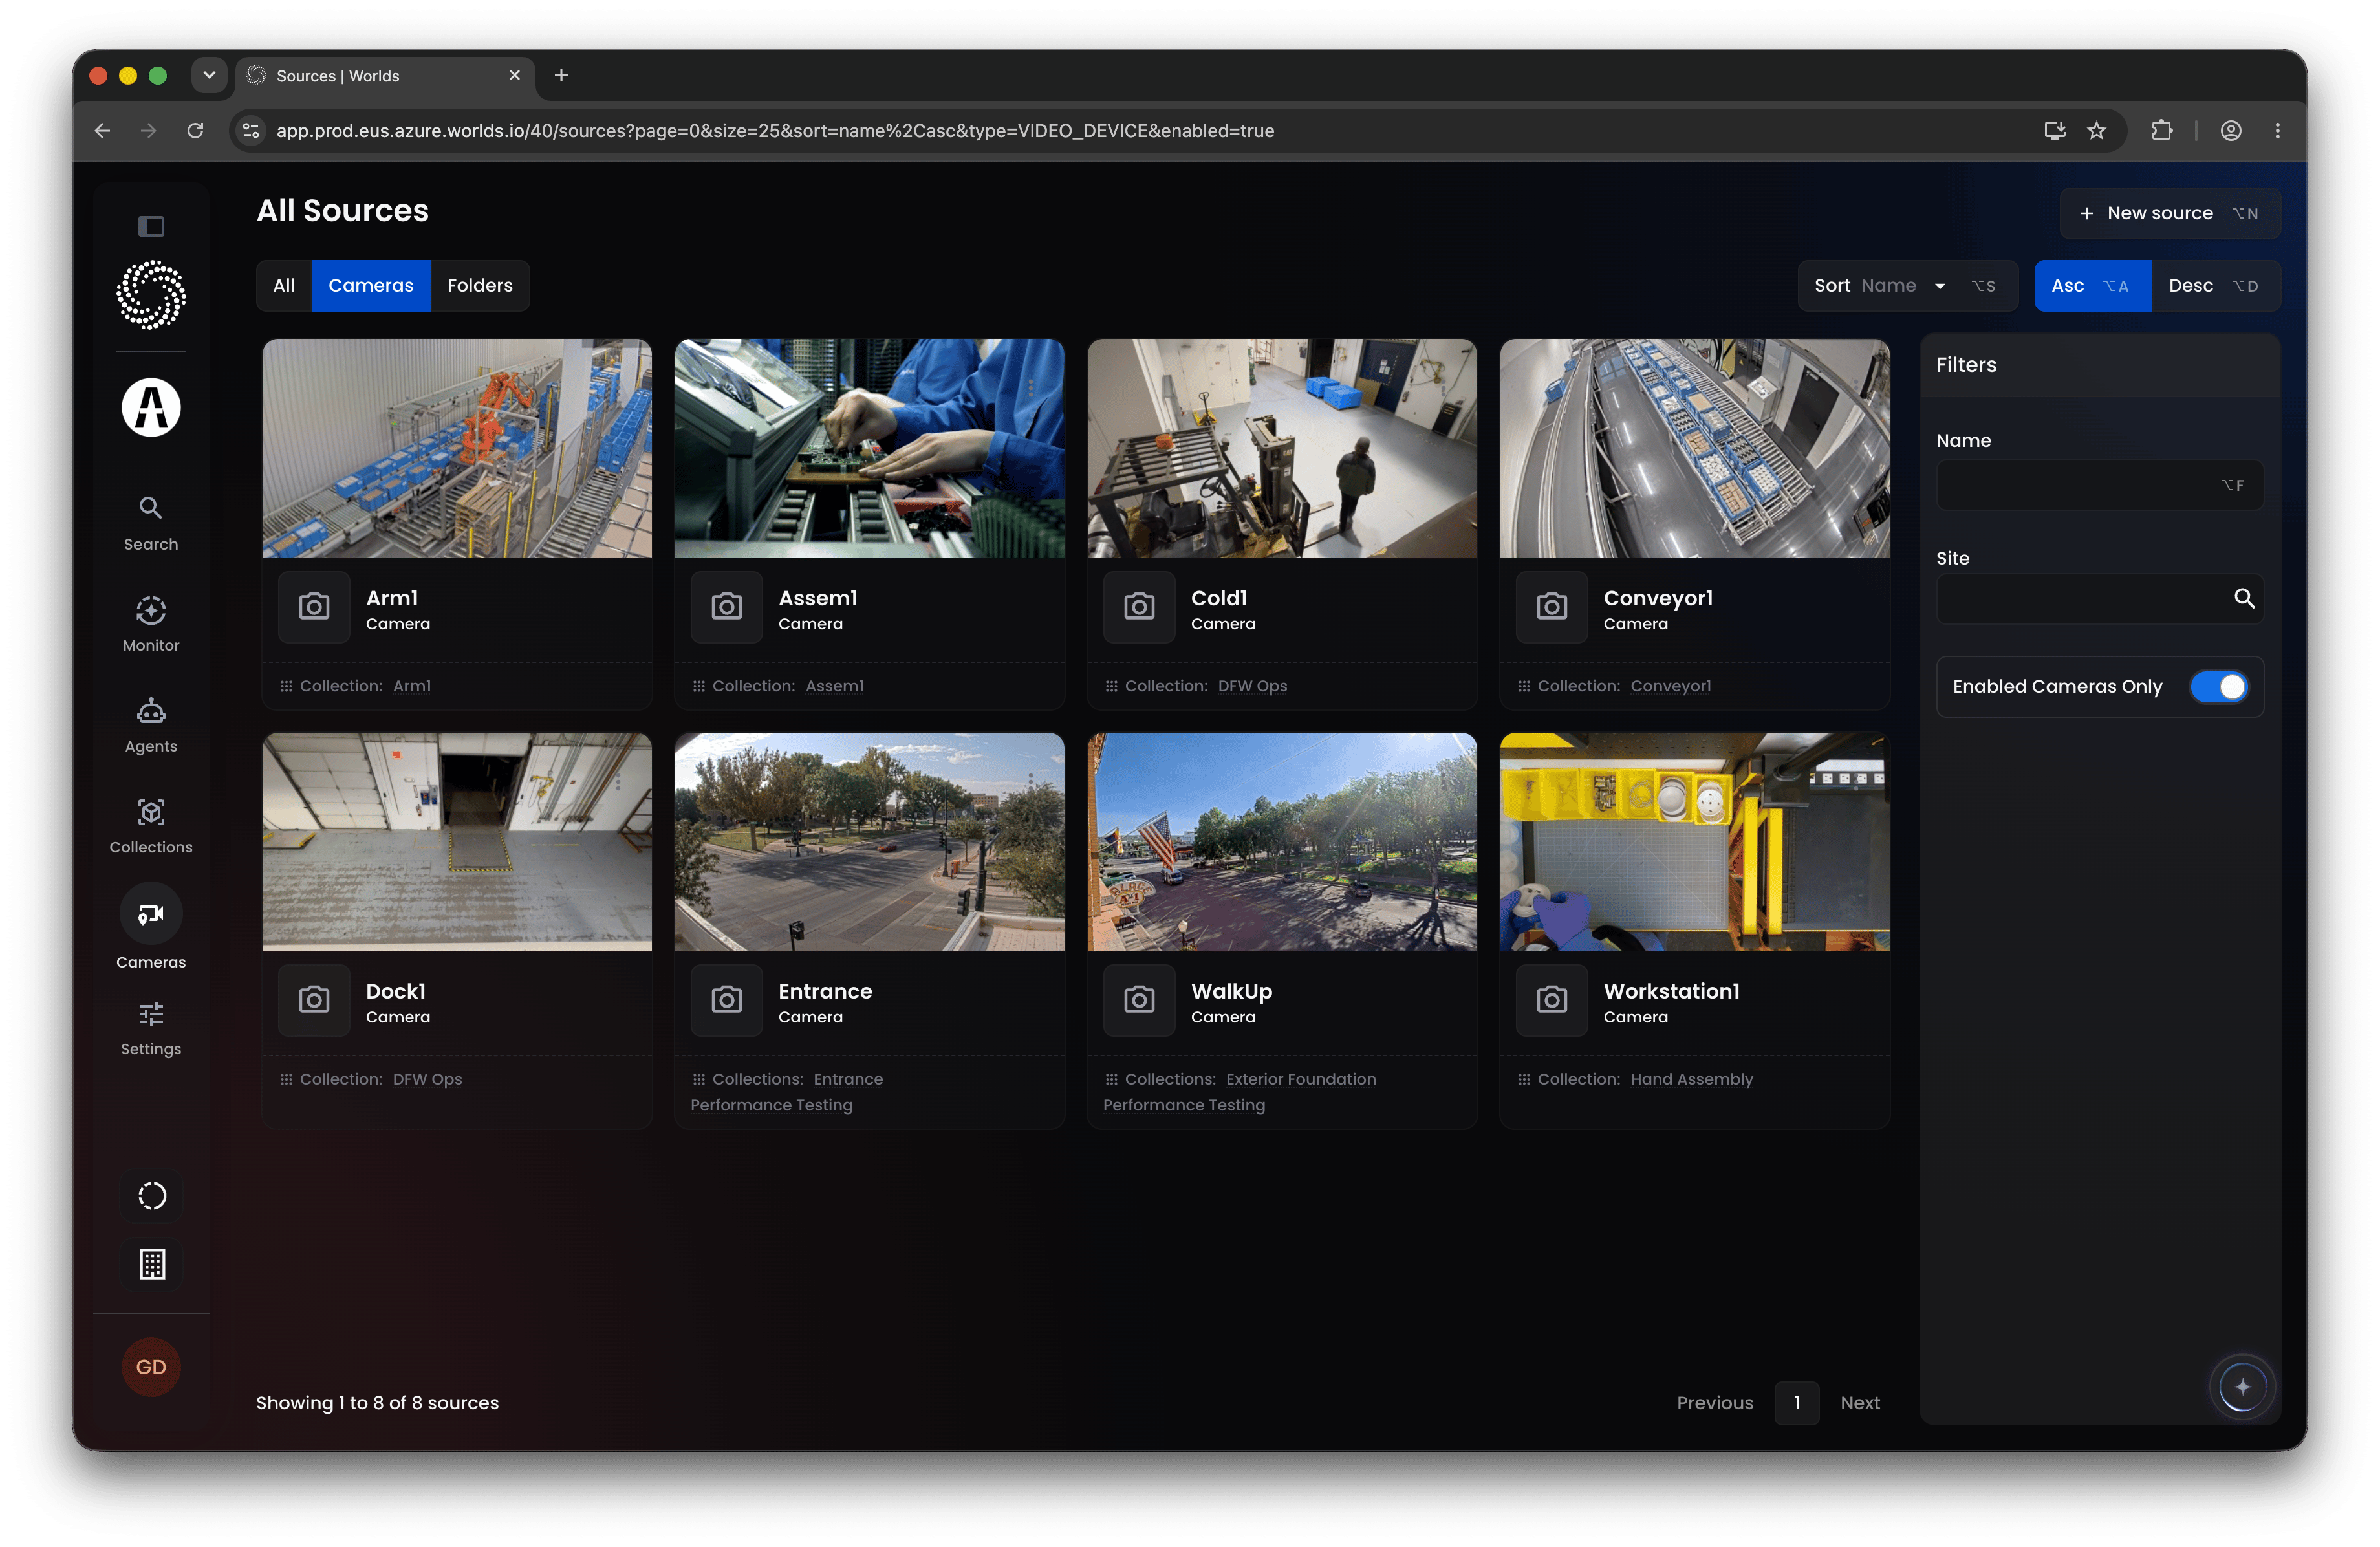
Step 2: Create a New Source
Click New Source in the top right, then name it and choose Camera or Folder.- Folder - just needs a name, nothing else required.
- Camera - adds optional fields for streaming URL, location, and Advanced Settings.
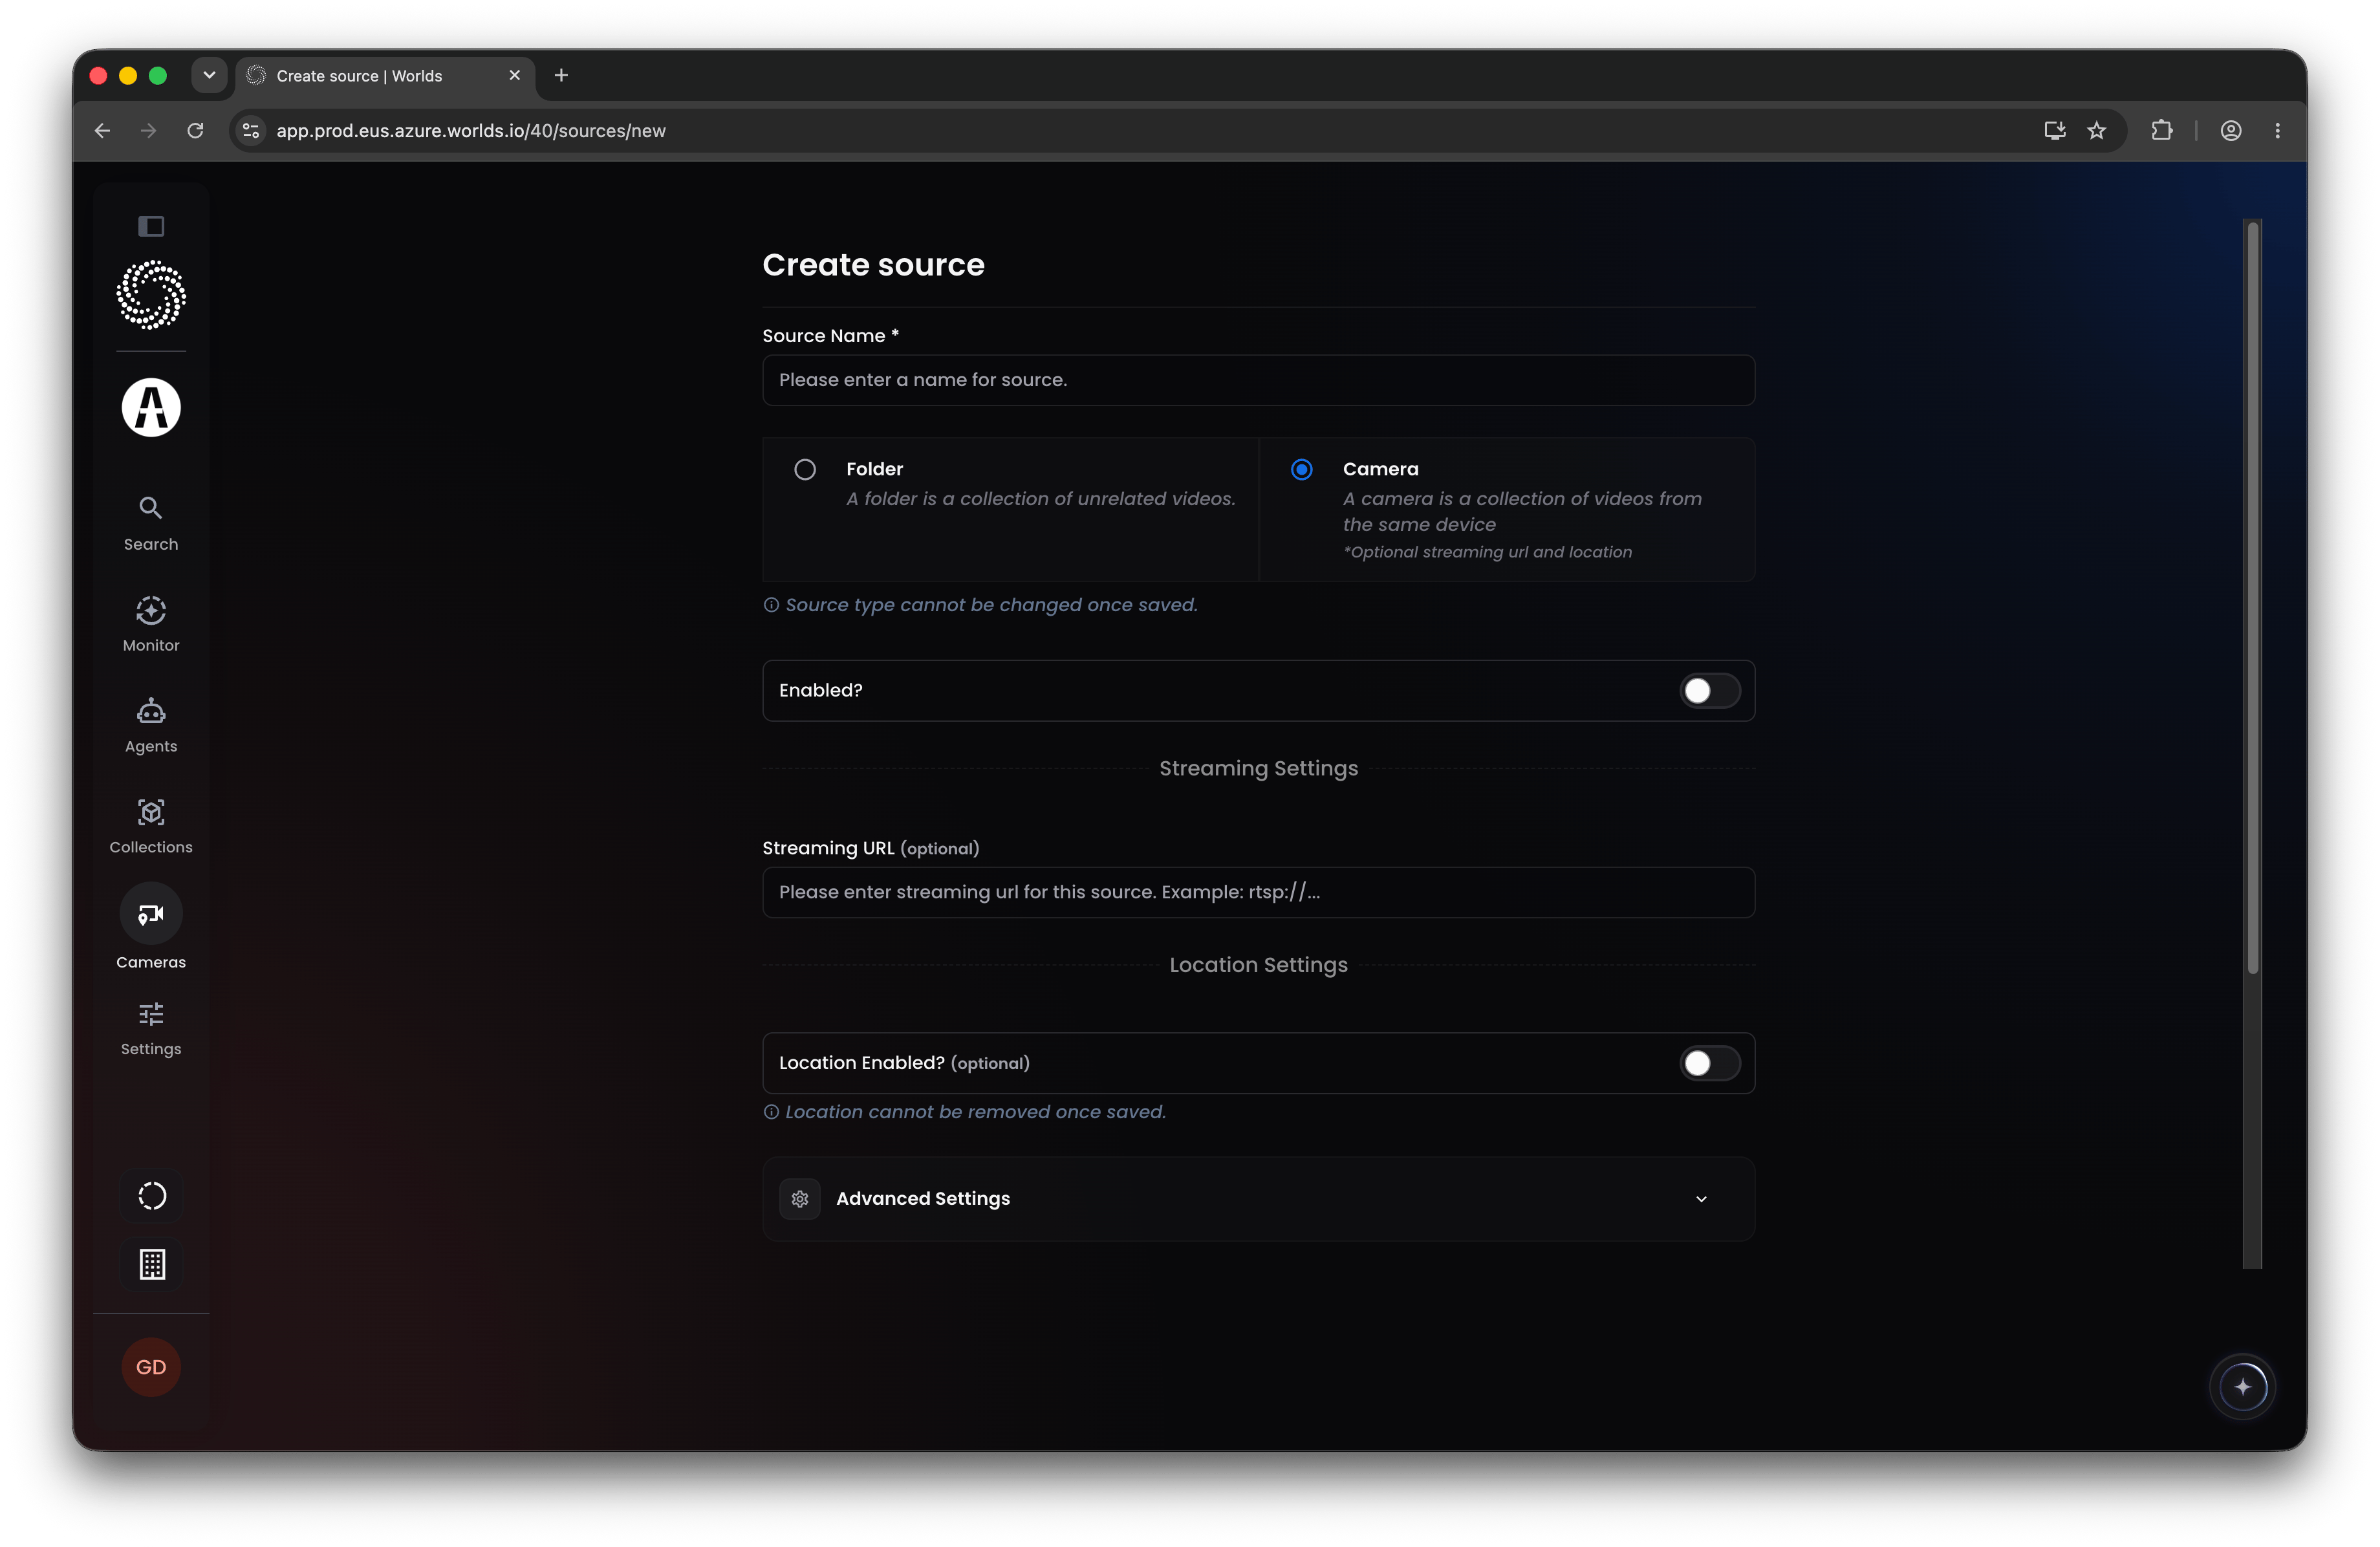
Step 3: Add Streaming and Location (Cameras Only)
If you’re creating a camera, you can optionally add an RTSP URL and enable location, the same as you would in Builder, to place it on the map. Or leave both off to create the camera as quickly as possible. Note: A camera created without a streaming URL behaves like a folder, except you can upload multiple videos to it from the same source and keep them together as one continuous data source, which a folder alone doesn’t guarantee if the footage comes from different cameras.Step 4 (Optional): Configure Advanced Settings
Applies to both cameras and folders:- Thresholds and frames-per-second for indexing/tagging video and for processing live video
- Default sensitivity options applied later when you build models on this source
Step 5: Manage the Data Source
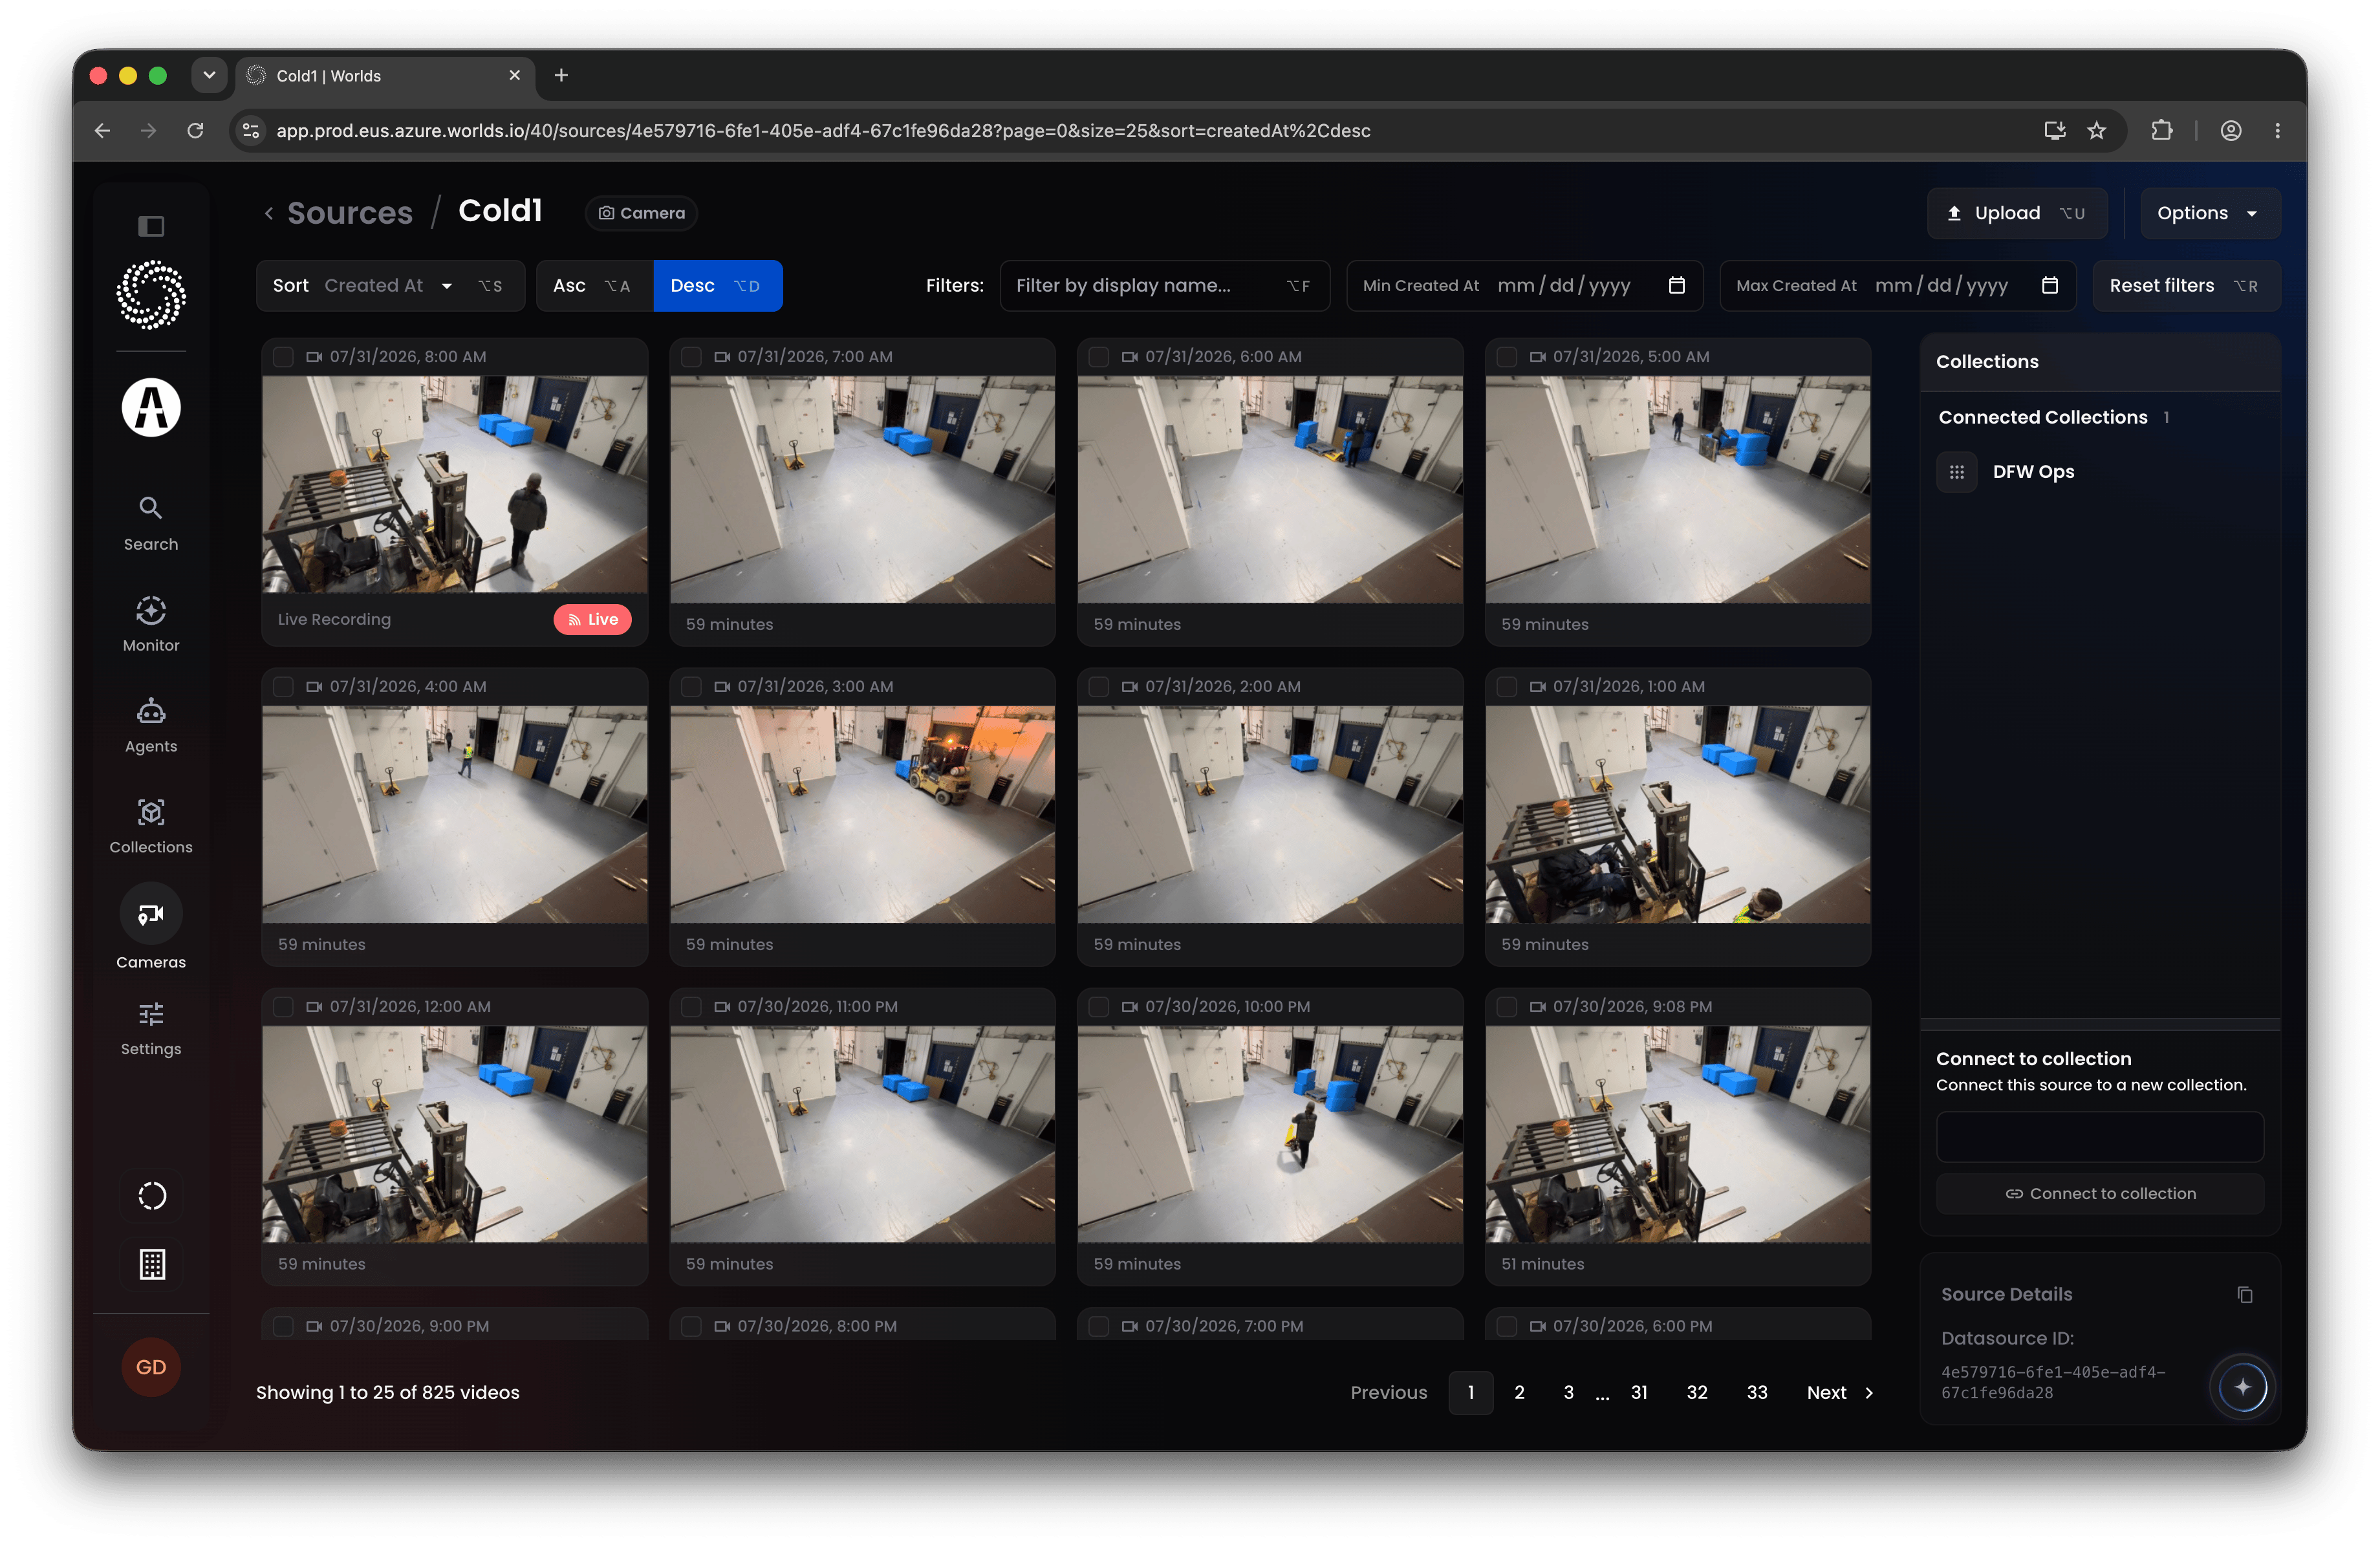
Opening any camera or folder you’ve created shows:- Any video files already associated with it
- Which collection(s) it’s connected to, or a selection box in the bottom right to connect it to one
- An upload dialog (top right) to add new videos
Step 6: Configure Zones (Cameras Only)
From the options menu in the top right, select Zones. This pulls up the latest available video from that camera, along with any zones already configured. Click the Add new zone button in the right panel, and then click to draw vertices directly on the video. Click your starting point again to close the polygon, then give the zone a name. You can then drag the whole shape, drag individual points, or rotate and scale it as needed. Tip: If a camera’s position changes and a zone no longer fits, select it and clear its points to redraw from scratch, the zone keeps its original ID and name - keeping downstream workflow references intact. Note: Zones only apply to cameras, not folders, since a folder’s video may come from several different source cameras with no single fixed frame to draw a zone on.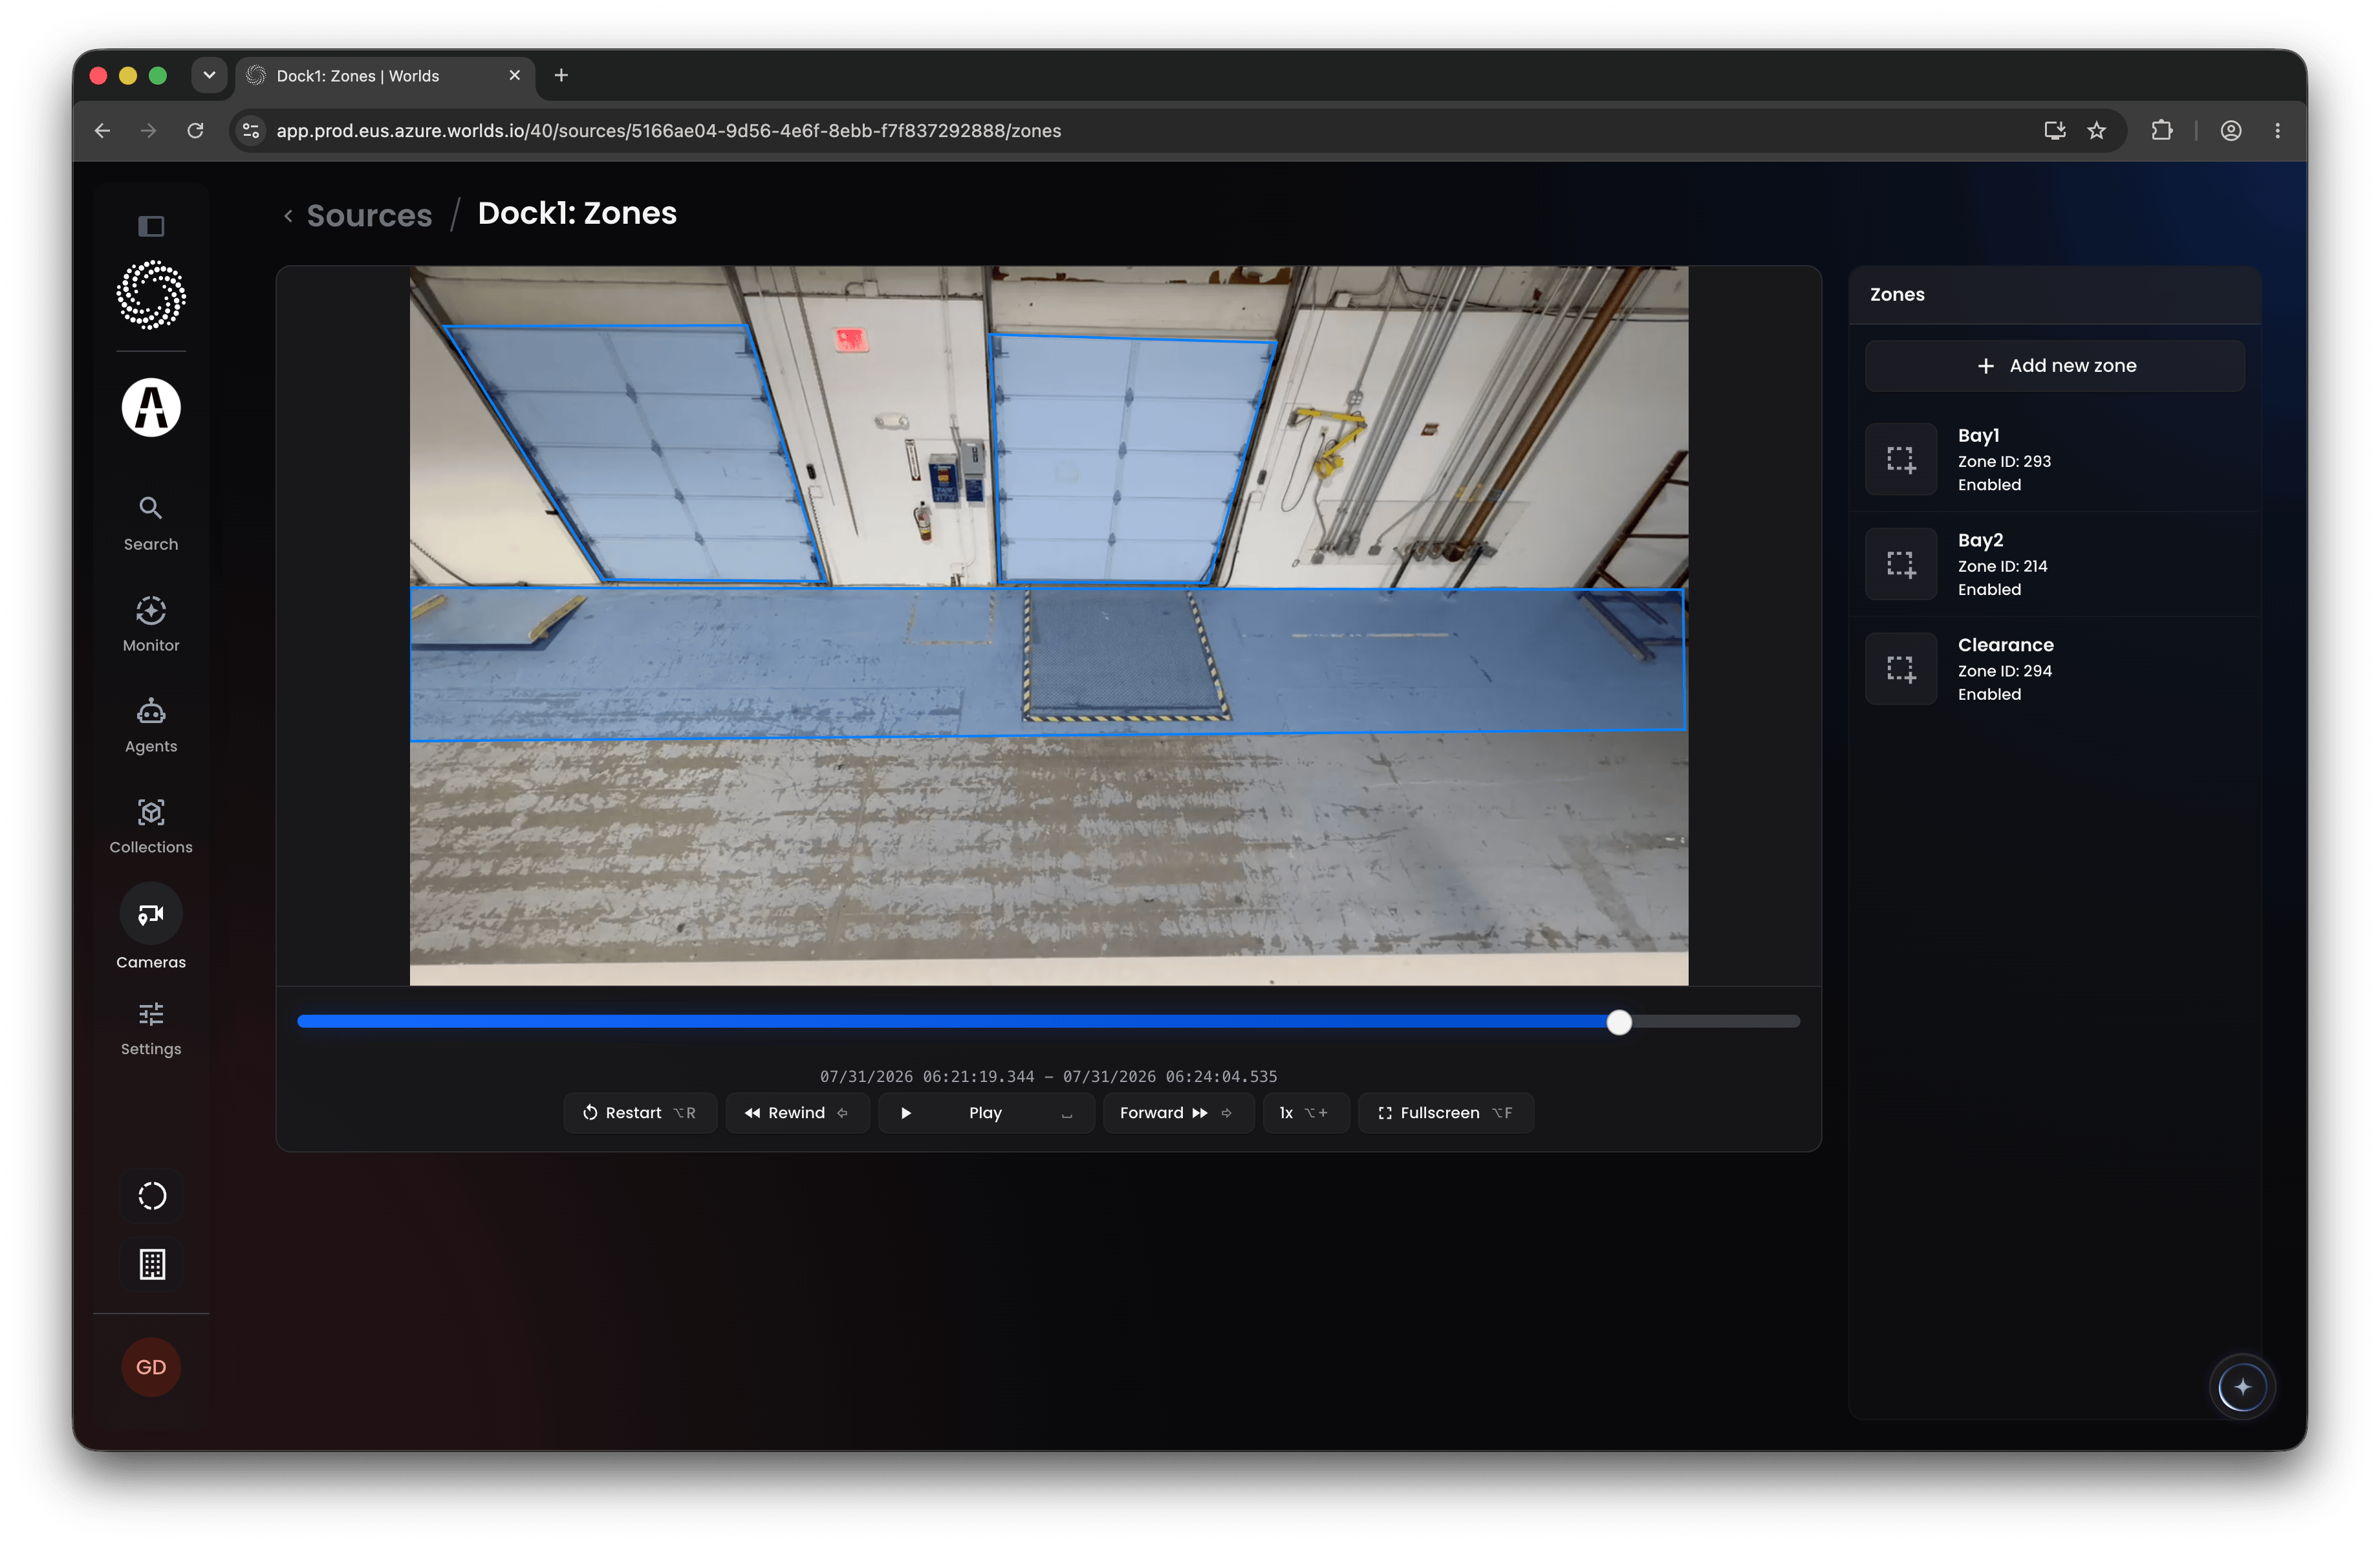
Quick Reference
- Cameras / Folders / All tabs - live cameras, offline uploads, or both
- New Source - name it, choose Camera or Folder
- Folders - name only; for offline or historic video, not tied to a specific camera
- Cameras - optional streaming URL and location; without a URL, behaves like a folder but keeps uploads as one continuous source
- Advanced Settings - thresholds, FPS, and default sensitivity; leave at defaults unless tuning for a specific camera
- Zones - camera-only; point-and-click polygons used in workflow logic to detect object presence or movement between zones